It’s that time: You’ve been confronted with a baby (yours, or even one of your friend’s children, a niece or nephew, and so on) who needs to have their diaper changed. What do you do?
If your first instinct is to panic because this is nothing that you’ve done before, stop right now. You don’t need to panic at all. Why? Because we’re going to take you through all the simple steps that you need to follow to ensure that the baby in front of you ends up with a clean, dry diaper and is comfortable once again.
When it comes to changing a diaper, we’ve got you covered! Here’s exactly what you need to do, step by step.
Do You Really Need to Change That Diaper?
First things first, you need to make sure that you actually need to change your baby’s diaper. It’s entirely possible that what you thought was a wet diaper or even a poopy one is nothing at all. There’s nothing worse than undressing your child and removing their diaper only to find out that it was a false alarm. Here’s how to tell.
Checking the Diaper – Wet Versus Dry Versus False Alarm
Start with the sniff test. If you think that your baby has a dirty diaper, then this is one way to tell. You’ll know right away if you’re smelling a fart or poop. If you still aren’t sure, then reach for the back of the diaper – the part right above the butt – and take a peek.
For wet diapers, it’s a bit different. Check to see if the diaper’s indicator has changed color. If the diaper is disposable, it will have a colored strip on either side that will change colors when urine is detected. This is a dead giveaway that it’s time to change that diaper. However, if you’re still in doubt, either peel away one side of the diaper to check for wetness or run your finger under the elastic section where the leg meets the diaper.
If still unsure, look for the sagginess of the diaper. Both types of dirty diapers tend to weigh a bit more than dry ones, so they’ll begin to sag. When you see this, then it’s time for a fresh diaper.
Make Sure That You Have Everything You Need
Now that you’ve checked to see if the diaper is dirty and have determined that it’s in need of changing, you need to make sure that you have all of the supplies necessary to get the job done. After all, once you get the baby on the changing table, you’re in the trenches!
If you don’t prepare first, you risk having a mess on your hands, as well as on your clothing, the walls, and so on. (There’s nothing quite like a diaper blowout, especially one that occurs when the baby isn’t wearing a diaper because you’re mid-change.) Here’s what you need to have on hand:
Sturdy Changing Surface
Make sure that you have a sturdy surface on which to do the diaper change. Not only does sturdiness count because you need to keep the baby safe and secure throughout the process, but the spot should be somewhat soft and comfortable as well. Changing pads that you carry in your diaper bag, changing tables, and in a pinch, even a carpeted or rug-covered floor will do.
Diapers
It seems like a no-brainer, but hey, it happens! In addition to a spot to change the diaper, you also need the diaper itself. It’s a good idea to have several on hand, just in case. For example, you may have one where the tabs tear off, leaving you without a properly functioning diaper. In situations like this (as well as numerous others), it’s always a good idea to have more than one diaper in the proper size within reach, such as in a diaper bag.
Wipes
A good diaper changing station, even a makeshift one, should have a container of wipes nearby as well. In order to keep your little one rash-free, comfortable, and properly sanitary, you need to clean them well after removing their soiled diaper and putting on a clean one. Depending on how messy the dirty diaper ends up being, you may need more than one wipe to get the job done. Having a large container of wipes at your disposal will help immensely. After all, your baby can never be too clean!
Extra Clothing
Let’s be honest; messy comes with the territory! Babies sometimes make a mess when soiling a diaper. They can’t help it. Their little digestive systems are still forming, and something as small as a change in formula can lead to a blowout that dirties their diaper and the clothing they were wearing.
Keeping a change of clothes or two in a nearby diaper bag makes it easy to switch out the dirty clothes for nice, clean ones, ensuring that the baby remains as clean and comfortable as possible.
Trash Can or Bags
Finally, you’ll need to have a trash can or a plastic bag nearby to throw out the dirty diaper. If your baby soiled their clothing, you’d want to place the soiled onesie in a separate plastic bag as well, so it can be washed later on. Either way, you’ll need a few bags and a trash can in order to finish cleaning up the mess left behind.
Changing a Diaper
Now that you have everything ready for the diaper change, it’s time to switch out that dirty diaper for a clean one. It’s a multi-step process, but it goes by pretty quickly and is relatively simple and somewhat painless. Ready, set, go!
Step One: Place Baby on a Soft, Sturdy Surface
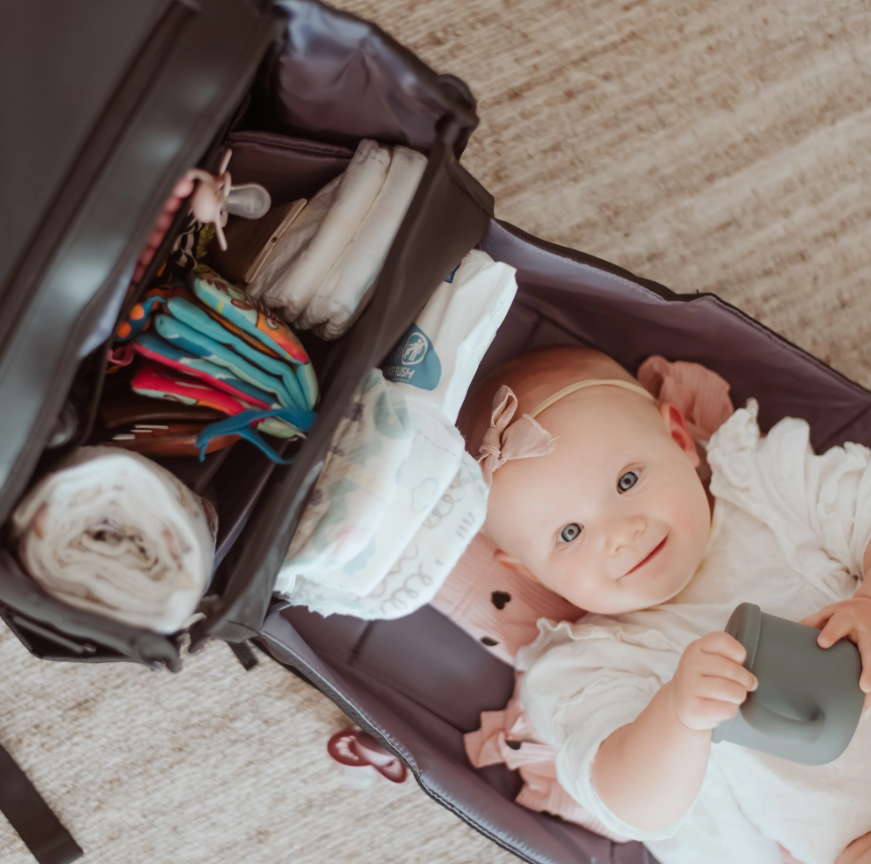
No matter what surface you use to change the baby, just make sure that it’s secure enough to hold them gently in place so they don’t roll off of the table or around the house mid-diaper change. Some diaper bags, like the ones at Paperclip, fold out, so a quick change can happen anywhere!
Step Two: Keep Them from Moving
Some babies just don’t like to stay still. The older they get, the tougher it will be to get them to stay in one place while you’re changing their diaper. For safety reasons, as well as to keep from getting kicked in the face by a baby while you’re within range, do your best to gently hold them still with one hand while you change their diaper.
Step Three: Gently Remove the Dirty Diaper
Now, it’s time to remove that dirty diaper. If they’re wearing pants or a onesie, you’ll have to remove them or unsnap them first to access the diaper. Once this is done, pull up on the tabs that are holding the diaper in place around their waist, and then lift the baby’s legs in the air to slide the dirty diaper out from under them. This is a great time to wipe, wipe, wipe!
Step Four: Wrap Up the Dirty Diaper
After the dirty diaper has been removed, do your best to wrap it up using one hand. (The other should be on the baby, holding them in place.) Spoiler alert! If you’re changing a boy’s diaper, keep in mind that the second the old diaper is off, they may pee on you, so hold a cloth or even another diaper over them while you get the old one wrapped up.
Step Five: Slide a Clean Diaper Under Them
Set the dirty diaper aside, and slide a clean diaper underneath the baby. Disposable diapers have an indicator to show you which side is the front. If you’re using cloth diapers, it should be evident which side is the front.
Step Six: Fasten the Straps
Once the diaper has been slid underneath the baby, pull the front side of it securely upwards and then fold the sides over. Pull out the sticky straps and securely adhere them on either side to keep the diaper safely in place.
Step Seven: Throw Out the Old Diaper
Now, it’s time for some cleanup. Throwing out the old diaper, wrapping up any dirty clothes, and then letting the baby loose on the floor or over to the nearest adult for some playtime are the last things on the list. Congratulations! You’ve successfully changed a diaper. Feeling like a pro now?
Prep and Practice Makes Perfect
As you can see, changing a diaper is the easy part. The trickiness lies in determining whether or not the diaper is dirty, as well as setting up everything that you need for a successful diaper change. But not to worry, the more you practice, the closer to a diaper changing pro you’ll become! And the good news? Your baby is sure to give you ample opportunities to practice!
Sources:
Step-By-Step Guide to Changing a Baby's Diaper | Very Well Family
Popular Articles
Help! My Silicone Tastes Like Soap!
Back-to-Preschool, the Eco-Friendly Way: 7 Simple Swaps for Greener Mornings
If you're looking to make mornings smoother and more sustainable, here are 7 simple, eco-friendly swaps perfect for preschoolers and the grownups who love them.
Read More

Comments
your writings are admirable and one more thing the post about babydiaper is mesmerizing and one word it just sublime.